
Design Your Own Pergola: A Practical Planning Guide for 2026

What if the best pergola design decision isn’t the roof, but where the structure needs to sit? To design your own pergola, start with the space you have and how you plan to use it. A layout that works for a dining table may not suit a lounge area, and a configuration that looks right on screen still needs to fit your patio and the building beside it.
Choices such as size, placement, shade, enclosure, and heating all affect how the finished space works. Start with the site and its intended use, then make decisions in sequence. This guide will help you build a practical design brief and understand how the main elements work together.
You’ll map the layout, weigh roof and placement options, and consider whether screens, enclosure doors, or infrared heaters suit your plans. Once your priorities are clear, use the Pergola Studio 3D Configurator to visualize and refine a Summit Series Pergola configuration in real time.
Design Your Own Pergola: Table of Contents
Start Your Pergola Design with the Site and How You Will Use It
Set the Pergola Footprint, Placement, and Attachment Before Choosing Features
Choose a Roof Design That Matches Your Use and Site Conditions
Plan Screens, Enclosures, and Heating Around the Space You Want
Build and Visualize Your Pergola Design with a 3D Configurator
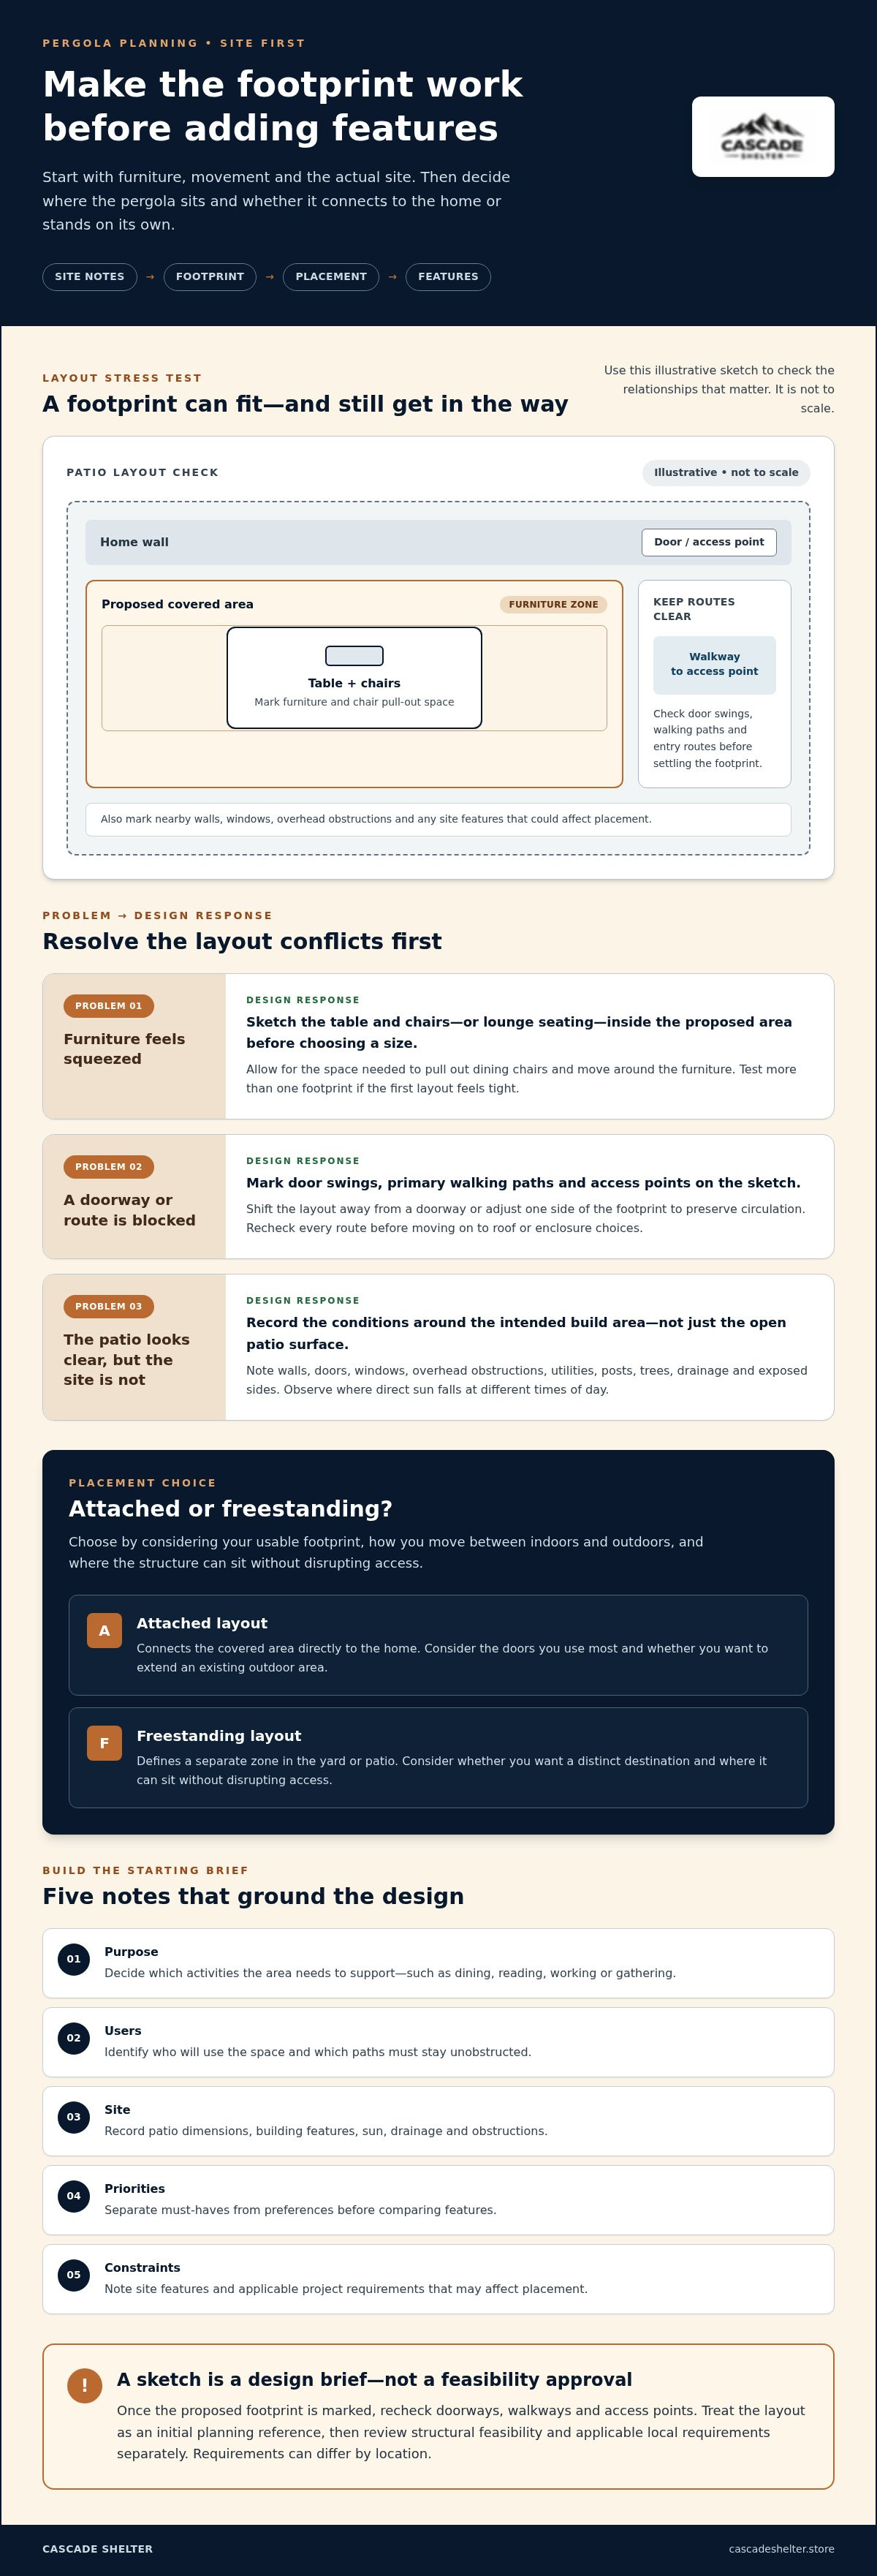
Start Your Pergola Design with the Site and How You Will Use It
Define the space and its purpose before choosing pergola features. This keeps the design grounded in how you’ll use the patio instead of turning into a list of options that may not fit. A pergola is a garden structure with an open framework, but your plan needs to answer a practical question: what should the structure make possible at your home?
Use this sequence to set a clear starting brief:
Purpose: Decide what activities the area needs to support.
Users: Identify who will use it and which paths must stay clear.
Site: Record the patio, building, sun, drainage, and obstructions.
Priorities: Separate must-haves from preferences.
Constraints: Note site features and applicable project requirements that may affect placement.
Location matters, but a city name doesn’t describe a particular yard. A project in Portland, Bend, or Tacoma may have different sun exposure, nearby structures, drainage, and wind exposure. Measure and observe the actual site before settling on a configuration.
What should your pergola make possible?
Picture an ordinary day in the space. Will it hold a dining table for weeknight meals, provide a shaded place to read, or give guests room to gather? If you plan to work outside, consider where a desk or seating will go and whether you need a clear route back indoors. Think about everyone who will use the area, including anyone who needs an unobstructed path through it.
Sort your goals into essentials and preferences. Essentials are requirements the layout must meet, such as fitting a dining setup or keeping a doorway clear. Preferences are refinements, such as a particular look or added flexibility. This distinction helps you focus the design before comparing features.
What should you measure before designing a pergola?
To design your own pergola, measure the patio’s width and depth, then note nearby walls, doors, windows, and overhead obstructions. Mark potential furniture locations and the routes people use to move through the area. A footprint can fit on paper but still interfere with a door swing or narrow a walkway.
Observe the site at different times of day. Note where direct sun falls, which sides feel exposed, and where rainwater drains. Record visible utilities, posts, trees, and other features that could affect placement. Don’t assume the intended build area is clear just because the patio surface looks open. These notes form a useful brief for the next decisions.
Set the Pergola Footprint, Placement, and Attachment Before Choosing Features
Turn your site notes into a workable layout. The pergola footprint should cover the area you intend to use without blocking the routes that keep the patio functional. Start with furniture and movement, not a default size. A structure may look spacious on a plan but leave too little room to pull out dining chairs or pass through comfortably.
How do you choose the right pergola size and position?
Sketch the usable patio area and mark the furniture you expect to place beneath the pergola, such as a dining table and chairs or lounge seating. Add door swings, primary walking paths, and access points. Compare the area you want covered with the clearance needed around furniture and along those routes.
Test more than one footprint. Shifting the layout away from a doorway or narrowing one side may preserve circulation while leaving enough room for the main activity. Treat these measurements as an initial design brief, not confirmation that a location or configuration is structurally feasible. Keep the sketch as a reference for the next planning step.
Should a pergola attach to the home or stand independently?
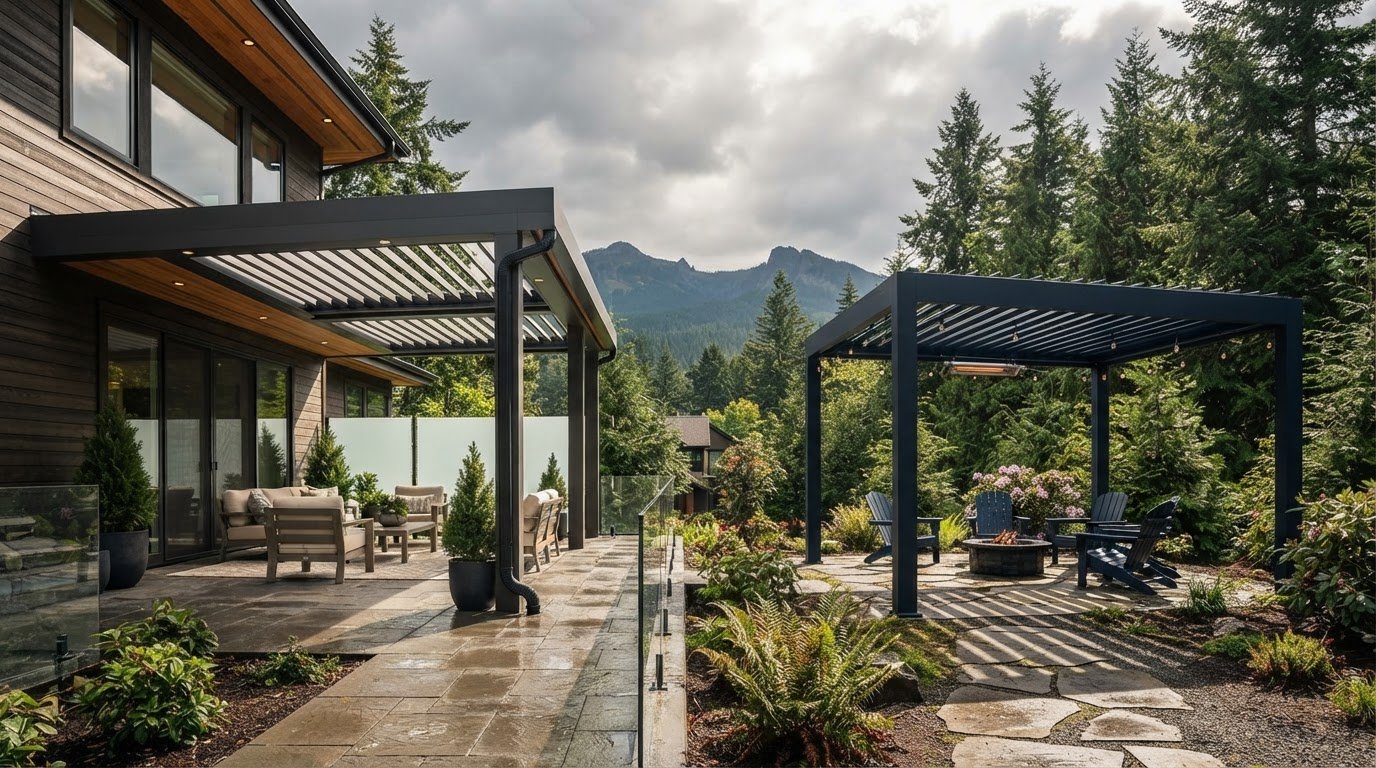
An attached layout can connect the covered area directly to the home, while a freestanding layout can define a separate zone in the yard or patio. The right approach depends on the available footprint, how you move between indoors and outdoors, and where the pergola can sit without disrupting access. Consider which doors you use most and whether you want to extend an existing outdoor area or create a distinct destination.
For a closer look at the trade-offs, read this attached-versus-freestanding pergola comparison. Treat placement as a design decision, then review applicable local requirements for setbacks and permits in the project’s jurisdiction. Requirements can differ by location, so guidance for one area may not apply elsewhere.
Before choosing a roof or enclosure, mark the proposed footprint on your sketch and recheck every doorway, walkway, and access point. If a post location or edge crowds a route, adjust the layout first. A clear plan gives you a stronger starting point for refining a configurable aluminum pergola. Explore Summit Series Pergola configurations once your placement and circulation priorities are clear.
Choose a Roof Design That Matches Your Use and Site Conditions
With the footprint established, consider how the roof should manage daylight and changing conditions. Roof style affects the feel and function of the space, but no design should be treated as universal protection from sun or rain. Match the roof concept to how you’ll use the pergola and what you’ve observed at the site.
An open roof creates filtered shade while leaving the overhead space open to the elements. Adjustable louvers let you change how open the roof is as light and conditions shift. A fixed-cover concept provides a consistent overhead surface but offers less flexibility to adjust openness. These are different design approaches, not interchangeable promises of performance.
What should you consider when configuring adjustable louvers?
Think through a typical day in the space. Do you want daylight over a dining area, more shade on a bright afternoon, or the ability to adjust the roof as conditions change? Weigh those preferences against the direction of the sun and the area you expect to use most. A roof that suits a lounge spot may feel different over a table or kitchen.
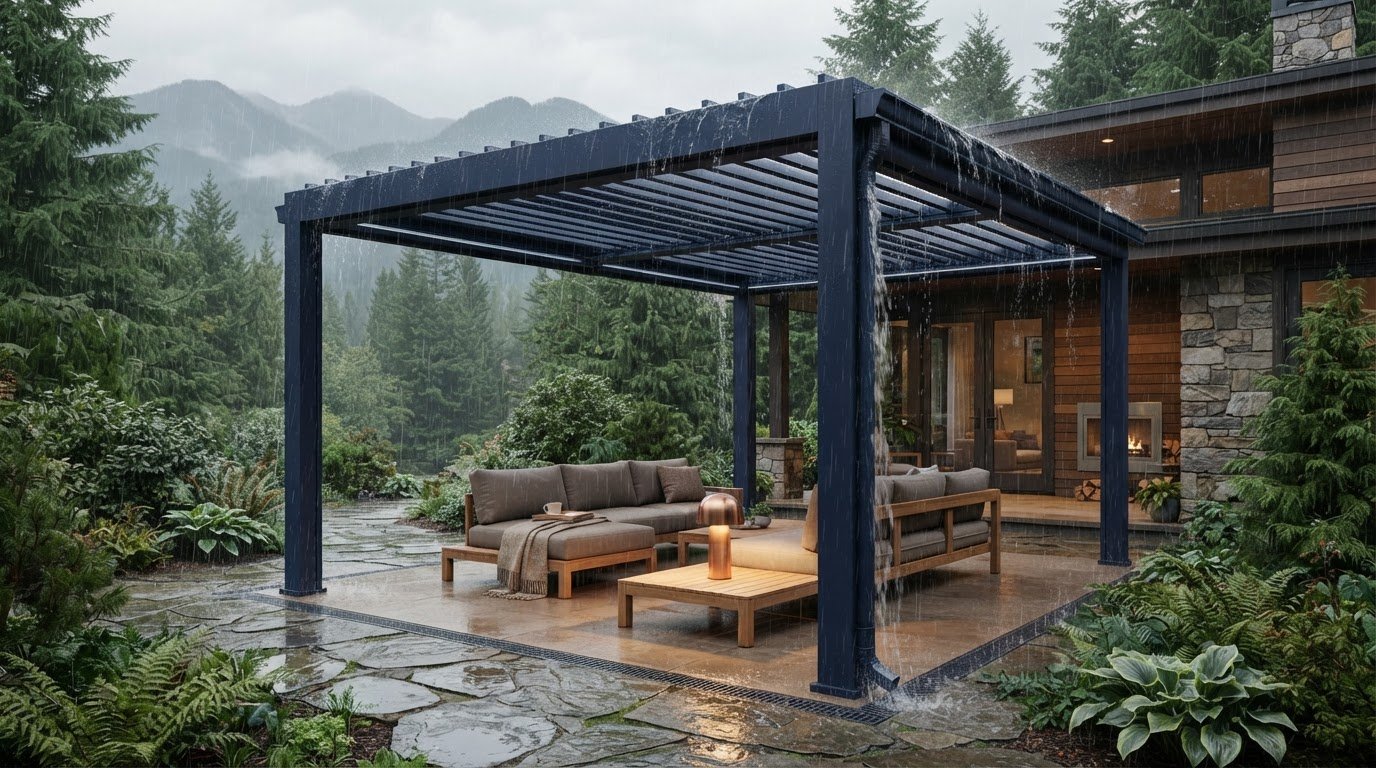
Consider how rain is managed around the structure, too. Roof configuration and drainage need to be considered together, but exact behavior depends on the design. For more detail, see this adjustable louvered pergola roof guide. Use it to refine your questions rather than assume every setup handles water the same way.
Which roof priorities matter in the Pacific Northwest?
There’s no single roof choice for every home in Portland, Bend, or Tacoma. Site conditions matter: nearby buildings or trees can affect sunlight, while exposure and seasonal use shape what you’ll value overhead. A sheltered patio used mainly for summer meals may call for different priorities than an exposed area you want to use in changing conditions.
To design your own pergola, turn your observations into a short list: desired daylight, preferred shade control, how often you expect to use the space, and what you need the roof to do when rain arrives. Keep those preferences separate from engineering assumptions. General awareness of local weather doesn’t establish what a particular structure can withstand.
Before settling on a design, review current requirements for the project’s exact address and proposed configuration. Local placement, permit, and structural requirements can vary by jurisdiction. Confirm what applies to your project, and don’t treat a general roof description as proof of code compliance or climate performance.
Plan Screens, Enclosures, and Heating Around the Space You Want
Add-ons are most useful when they address a real need. Start with the conditions you want to manage: strong sun at a particular time of day, insects during meals, wind across a seating area, or cooler conditions that shorten outdoor use. Then choose features that address those priorities. A long list of options won’t improve the layout if the features don’t fit how you plan to use it.
Which pergola screens or enclosure doors fit your priorities?
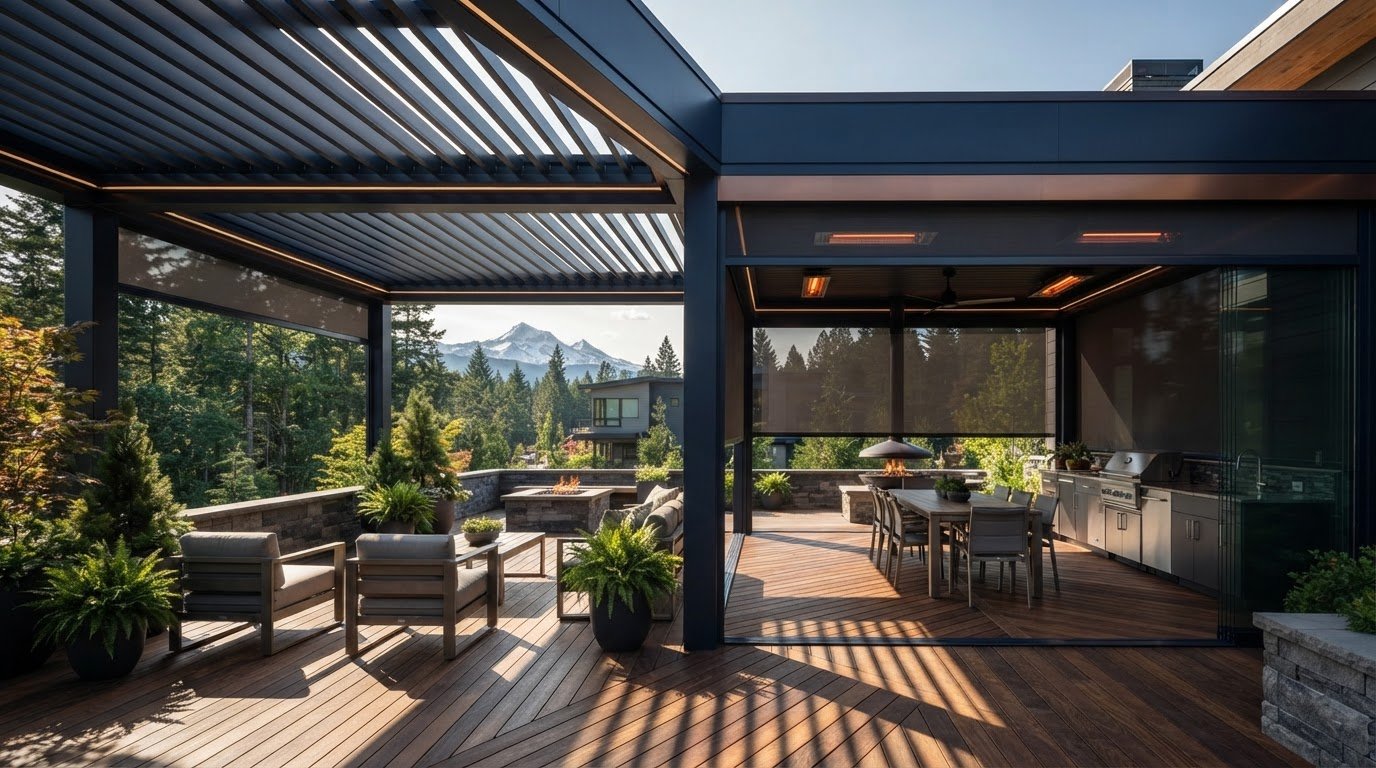
Motorized zip and roller screens can help manage sun, insects, or wind exposure, depending on the setting and configuration. Think about which sides need attention and when. For example, a screen may be useful along an edge that faces afternoon sun or an exposed seating area. Treat it as a way to address a specific condition, not a guarantee that every condition will be blocked.
Glass walls and shutter enclosure doors create different kinds of boundaries. Glass walls define an enclosed edge while keeping the surrounding view visually open. Shutter doors offer another way to enclose the space. Consider how much openness, separation, and access you want before choosing. Prioritize the conditions you encounter most often, then match the enclosure to the purpose of the area.
When does integrated infrared heating make sense?
Consider infrared heating if you want to use the pergola during cooler parts of the day or season. Its directional warmth makes placement and seating arrangement important. Think about where people will sit, how exposed the area is, and whether screens or enclosure doors will also shape the space. Heating and enclosure are connected design decisions.
Don’t assume a heater will make every configuration feel the same. The result depends on the project and its setup, so avoid choosing based on a room-temperature target or an unverified performance claim. Keep your intended use and layout at the center of the decision.
These features can affect the project’s overall investment. For a breakdown of the factors involved, read the motorized pergola cost factors guide. It explains what can influence cost without replacing a project-specific configuration review.
Explore pergola configurations and comfort options to match add-ons to your priorities.
Build and Visualize Your Pergola Design with a 3D Configurator
Once your site, layout, roof priorities, and add-ons are clear, bring them together in a configuration you can see. The Summit Series Pergola is customizable, and Cascade Shelter’s Pergola Studio 3D Configurator lets you explore and visualize configurations in real time. This makes it easier to compare choices before moving forward.
A 3D view can help you assess how the selected layout and options work together, but it doesn’t confirm that the design fits every site condition or meets structural requirements, and it doesn’t replace applicable approvals. Use the visualization to refine the concept, then review project-specific details through the appropriate process.
How do you move from a design brief to a 3D pergola configuration?
Keep your notes nearby as you work. Use your site measurements, intended use, placement sketch, and must-have features to shape the configuration instead of adding options without a clear purpose.
Start with the layout: Compare the proposed footprint with your patio, furniture, doors, and main paths.
Set the roof direction: Keep your daylight, shade, and rain-management priorities in view.
Review the add-ons: Consider whether zip or roller screens, glass walls, shutter enclosure doors, or infrared heating support how you plan to use the space.
Adjust the configuration and assess the visual result as a complete design. If an option crowds access or doesn’t serve a clear purpose, revise it. To design your own pergola well, compare each version with your brief instead of judging it on appearance alone.
What should you review before taking the next step?
Check the visualized layout against the actual site. Does it leave access to doors and walkways? Is there room for the furniture and circulation you planned? Do the roof, enclosure, and comfort choices work together for the intended use?
Separate what the configurator helps you visualize from what requires project-specific review. Confirm current local requirements for the property’s jurisdiction, including applicable placement or permit rules, and review structural details through the appropriate process. A clear visualization is a planning tool, not a substitute for those checks.
Turn Your Pergola Plan into a Clear Configuration
A practical pergola design starts with the site and what you need the space to do. Measure the footprint, account for furniture and clear paths, then choose a roof and add-ons around your priorities. That sequence helps you design your own pergola with fewer guesswork-driven decisions.
Once your brief is set, visualize how the pieces work together. Cascade Shelter’s Pergola Studio 3D Configurator supports real-time design visualization, so you can refine a Summit Series Pergola configuration and consider matching screens, enclosure doors, and infrared heaters. A visual design helps clarify choices, but it doesn’t replace a site review or applicable project approvals.
Ready to see your ideas take shape? Design your pergola in Cascade Shelter’s 3D Studio. Start with your space, make deliberate choices, and build a plan around how you want to use your outdoor area.
Frequently Asked Questions
How do I design my own pergola?
Start with the space and what you want it to do. Measure the patio, note doors and access paths, and decide whether the area is for dining, lounging, or entertaining. Set the footprint and placement before choosing a roof or add-ons. Compare each choice with your must-haves and review applicable local requirements. Once your priorities are clear, the Pergola Studio 3D Configurator can help you visualize a Summit Series Pergola configuration.
Can I design a pergola online before choosing its features?
Yes. Explore and refine a configuration online as you make design decisions. Cascade Shelter’s Pergola Studio 3D Configurator supports real-time visualization, helping you see how choices affect the overall design. Start with your site measurements and intended use, then adjust the layout and consider options such as screens, enclosure doors, and infrared heaters. Visualization clarifies design choices but doesn’t replace a site review or applicable approvals.
What should I measure before designing a pergola?
Measure the usable patio width and depth, then record nearby walls, doors, windows, and overhead obstructions. Mark furniture locations, door swings, walkways, and routes people use to reach the yard or home. Note sun direction, where rainwater drains, and visible utilities or other features that may affect placement. These measurements form an initial design brief, not confirmation that a proposed structure is feasible.
How do I choose between an attached and freestanding pergola?
Choose based on how you want the pergola to connect with your home and how people will move through the space. An attached layout can extend an outdoor area directly from the building; a freestanding layout can define a separate patio or yard zone. Compare the available footprint, doorway access, furniture placement, and circulation for each. Then review the project-specific design and applicable local requirements before settling on a configuration.
Can a pergola design include screens, glass walls, or heating?
Yes. Summit Series Pergola configurations can pair with motorized zip or roller screens, glass walls, shutter enclosure doors, and infrared heaters. Choose each option for a specific need: screens can help manage sun, insects, or wind exposure; glass walls and shutter doors create different enclosure experiences; infrared heating can support comfort in cooler conditions. Consider how the options work together with the roof, layout, and intended use.
Do I need a permit to build a pergola in Portland, Bend, or Tacoma?
Permit requirements depend on the project and rules that apply at its specific address. Don’t assume Portland, Bend, and Tacoma have identical requirements, or that guidance for one property applies to another. Review current information from the building department with jurisdiction before moving forward, including applicable placement and setback rules. A 3D configuration can help clarify the design, but it doesn’t determine whether a permit is required.
What should I consider when designing a pergola for Pacific Northwest weather?
Assess conditions at your exact site rather than relying on a broad regional label. Note sun exposure, wind, rain direction, drainage, and how you expect to use the space across seasons. Use those observations to guide roof, screen, enclosure, and heating choices. Don’t assume a feature provides universal weather protection. Review project-specific structural details and current local requirements for your property in Portland, Bend, or Tacoma.
Comments